

Top 5 Mistakes to Avoid When Installing Vinyl Plank Flooring
Top 5 Mistakes to Avoid When Installing Vinyl Plank Flooring
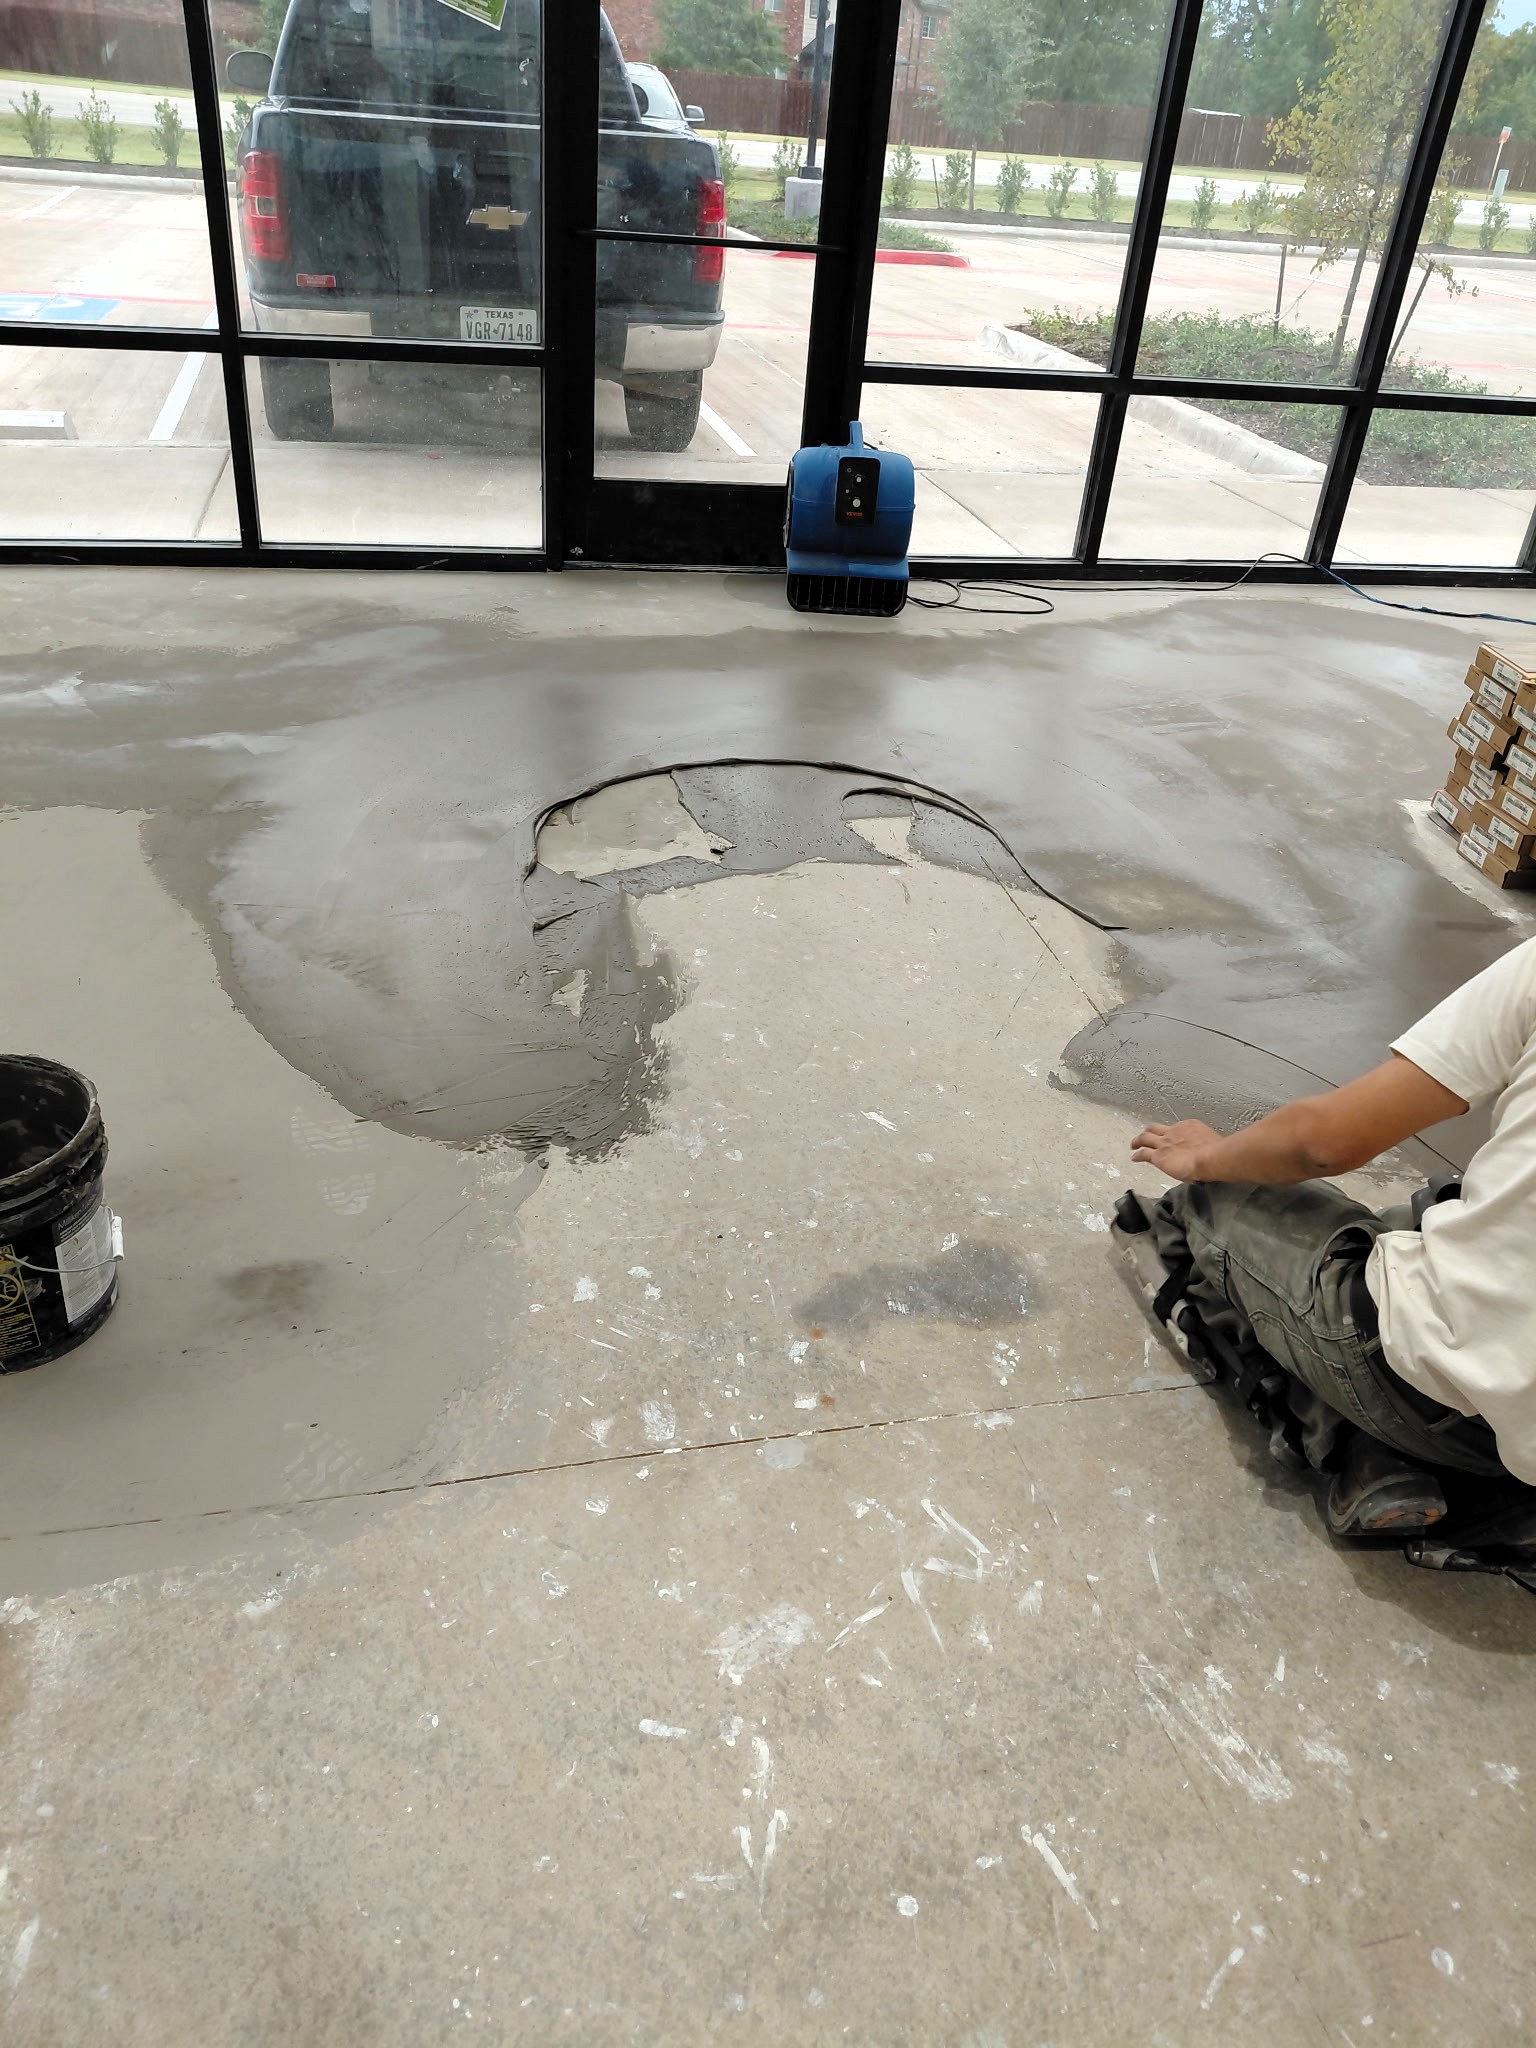
1. Skipping Proper Subfloor Preparation
Vinyl plank flooring is forgiving, but it’s not magic. The surface beneath must be clean, flat, and dry—especially on Houston’s slab-on-grade foundations where Gulf Coast humidity and hydrostatic pressure can creep into the concrete.
- Clean: Remove old adhesives, paints, dust, and drywall mud. Even a thin film can prevent proper locking or adhesive bond.
- Flatten: Most manufacturers require flatness within about 3/16 inch over 10 feet. Grind high spots and fill low areas with a cement-based patch or self-leveler compatible with vinyl. Don’t rely on underlayment to “hide” major dips.
- Dry: Moisture is a silent floor killer. On concrete, perform a moisture test (in-situ RH or calcium chloride) and follow the manufacturer’s thresholds. For glue-down, use moisture-mitigating adhesives when needed; for floating floors, use an appropriate vapor barrier. In crawlspace homes, ensure vents and vapor barriers are in good condition.
Example: In a Houston bungalow with a wavy, patched slab, skipping leveling led to hollow sounds and joint stress within weeks. After flattening and re-installing with a proper vapor barrier, the floor performed as intended.
2. Ignoring Acclimation Time
Vinyl planks need time to adjust to Houston’s temperature and humidity before installation. Failing to acclimate can cause gaps, peaking, or seam tension.
- Bring unopened cartons into the space and let them sit per the manufacturer’s guidance (often 48–72 hours).
- Run the HVAC to “living conditions” during and after install (commonly 65–85°F and 35–65% RH, per many specs).
- Keep cartons flat, out of direct sun. High solar gain in Houston’s glass-heavy rooms can heat materials unevenly.
Example: In a sunlit Midtown condo, planks installed straight off a hot delivery truck expanded after install, forcing joints to peak. Proper acclimation and temperature control would have prevented the issue.
3. Incorrect Measurement and Layout
Great-looking floors begin with a plan. Rushed measurements and guesswork create awkward cuts, wasted material, and misaligned lines.
- Measure twice: Calculate total square footage and add waste (typically 5–10% for straight lay; more for angled layouts).
- Balance the room: Snap reference lines and dry-lay a few rows. Avoid “sliver” cuts at walls—aim for at least a half plank at the start and end. Shift your starting line to balance widths.
- Mind focal points: Align planks with long sightlines or main entries. Plan transitions at doorways and between rooms.
- Stagger correctly: Follow minimum end-joint offsets (often 6 inches or per manufacturer). Randomized stagger patterns look natural and maintain structural integrity.
- Undercut jambs and casings: Sliding planks under cut jambs looks cleaner and allows expansion. Don’t notch around them if you can avoid it.
Example: A commercial retail space with a long center aisle looked “crooked” because the plank run followed a slightly out-of-square wall. Re-laying off a center line aligned to the aisle corrected the visual, saving rework and material.
4. Overlooking Expansion Gaps
Even stable vinyl moves with temperature swings—more so with Houston’s AC cycles and seasonal humidity shifts. Without expansion space, floors can buckle, squeak, or separate.
- Leave a perimeter gap per the product spec (often around 1/4 inch) at walls, columns, cabinets, and pipes. Use spacers and cover with baseboards or quarter round.
- Control long runs: Large rooms or continuous runs may require transitions or expansion breaks per the manufacturer’s maximum span guidance.
- Don’t trap the floor: Floating systems should not be pinned by cabinets, islands, or fixed millwork. Install fixed pieces first, then float the floor to them with proper gaps.
- Manage heat sources: South-facing glass doors and windows can heat floors. Use window coverings and maintain HVAC to reduce thermal stress.
Example: A residential great room without perimeter gaps developed a pronounced hump after the first warm spell. Pulling the baseboards revealed zero expansion space; trimming the edges and reinstalling the trim resolved the buckling.
5. Wrapping Up: Ensuring a Lasting Installation
Vinyl plank flooring rewards careful preparation and attention to detail. In Houston, that means taking subfloor flatness and slab moisture seriously, acclimating materials under stable HVAC, laying out with purpose, and respecting expansion requirements. The difference shows up in quieter floors, tighter joints, and finishes that still look great years later.
Practical checklist before you start:
- Verify moisture levels and install the correct vapor control.
- Correct subfloor flatness; don’t rely on thick underlayments to mask issues.
- Acclimate materials and stabilize indoor conditions.
- Plan the layout to avoid slivers and align with focal lines.
- Leave proper expansion space and use transitions as required.
If you’re unsure about any step—moisture testing, leveling compounds, or layout strategy—it’s worth getting professional eyes on the project. A brief site visit can identify slab issues unique to our area, like moisture wicking after heavy rains or uneven settling on older foundations.
Ready to make your vinyl plank installation smooth and long-lasting? Contact us to schedule a free quote or a slab moisture test. We’re here to help you get it right the first time.