Engineered Wood Flooring Houston: Selection & Care Tips
How to Install Laminate Flooring: A Complete Checklist for Tools, Materials, and Measurements
Essential Tools and Materials for Laminate Flooring Installation
- Measuring tape, pencil, and chalk line
- Spacers (for expansion gaps)
- Straightedge and 6–10 ft level
- Circular saw or miter saw; jigsaw for notches
- Oscillating multi-tool or undercut saw (door jambs and casing)
- Rubber tapping block and pull bar
- Mallet and pry bar
- Floor scraper and vacuum
- Self-leveling compound and patch, grinder or rubbing stone
- Underlayment (foam or cork as specified)
- 6-mil polyethylene moisture barrier over concrete (if required)
- High-quality tape for seams (as specified by underlayment manufacturer)
- Transitions and moldings (T-molding, reducers, end caps)
- Safety gear: eye/ear protection, kneepads
Houston/Texas considerations:
- Moisture barrier is critical over slabs; most laminate manufacturers require a 6-mil poly vapor retarder under the underlayment unless using an approved combo underlayment.
- Condition the home with AC running 48–72 hours before, during, and after install; keep temperature and humidity stable to manufacturer-recommended ranges.
Accurate Measurements and Subfloor Preparation
- Room measuring: Measure the length and width of each area and multiply to get square footage. Break complex spaces into rectangles, then sum.
- Waste factor: Add 8–10% for straight-lay rooms; use 12–15% for diagonal patterns or many doorways and closets. Example: a 14 ft x 18 ft room = 252 sq ft. With 10% waste, order ~278 sq ft.
- Layout planning: Check plank width at the start and end walls. Avoid final rows under 2 inches—rip the first row narrower to balance.
Subfloor inspection for Texas slabs:
- Flatness tolerance: Most laminates require flat within 3/16 in over 10 ft or 1/8 in over 6 ft. Use a long level or straightedge, mark highs and lows, grind highs, and fill lows with a cementitious leveler.
- Moisture: Test concrete moisture per manufacturer (e.g., in-situ RH or calcium chloride). Many products limit RH to around 85%—verify your brand’s spec. If results are high, mitigate before installing.
- Clean and dry: Remove paint overspray, adhesives, and dust. On wood subfloors, fasten squeaks, replace damaged panels, and ensure proper deflection.
Step-by-Step Installation Best Practices

- Acclimation: Store boxed planks flat in the room with AC running, away from direct sun or damp areas. Follow the specific product guidance; many recommend at least 48 hours in conditioned space.
- Underlayment: If your laminate has an attached pad, don’t double up underlayments. Over concrete, lay 6-mil poly first (laps taped per spec), then the approved pad if needed.
- Starter line: Snap a straight reference line. Walls in Houston homes can be out of square; trust your line, not the drywall.
- Expansion gaps: Maintain a minimum 1/4 in gap at all walls, columns, and fixed objects. On long runs or wide spaces, 3/8 in is safer. Use spacers consistently.
- Staggered seams: Stagger end joints a minimum of 6–12 inches, avoiding H-joints. Open 3–4 boxes to blend color and pattern.
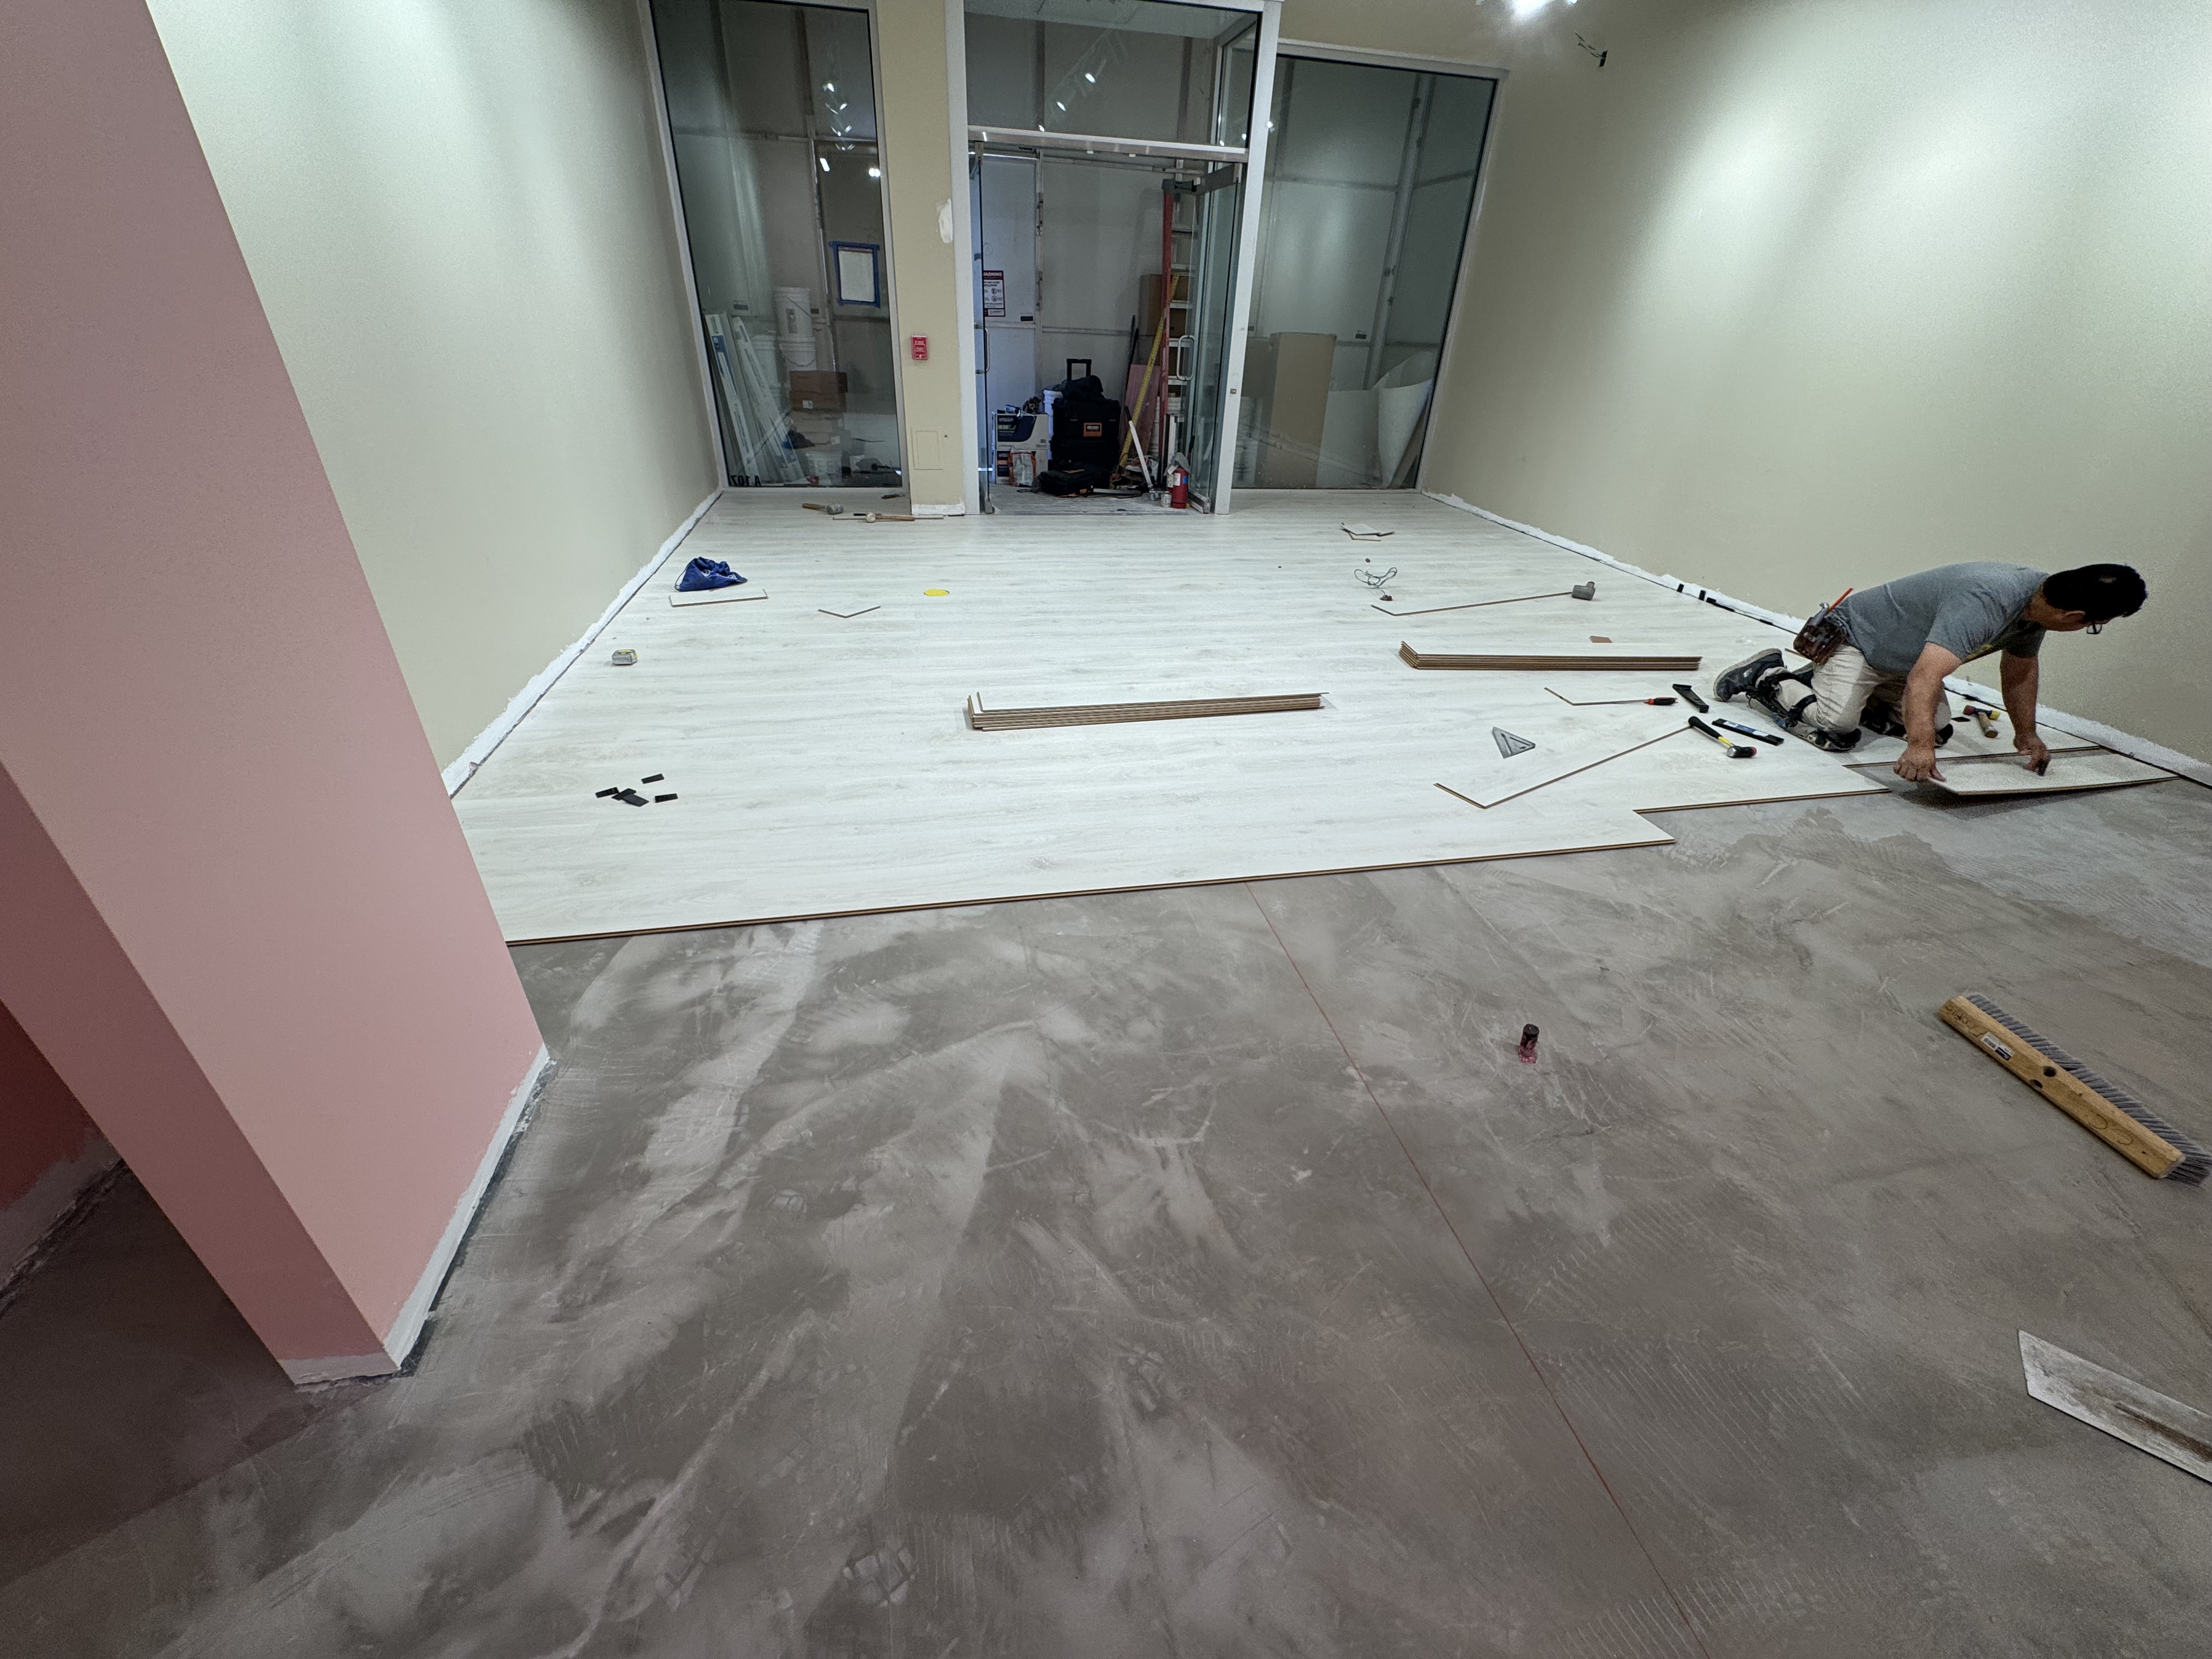
- Locking planks: Work left to right, row by row. Angle-lock the long side, then tap the short end with a block. Use a pull bar at the final row to avoid damaging edges.
- Transitions: Break up large areas and thresholds with T-moldings to control movement and allow for seasonal changes. Install reducers where laminate meets lower surfaces like tile or stained concrete.
- Finishing: Undercut door jambs so planks slide beneath for a clean look. Remove spacers and install baseboards or quarter round to cover gaps without pinning the floor.
Example: For a Montrose salon with big west-facing windows, we used T-moldings at room breaks and a slightly larger perimeter gap to accommodate daily temperature swings, keeping the floor stable through the summer.
Common Challenges and How to Avoid Them
- Uneven floors: Don’t rely on thicker underlayment to mask dips. Grind high spots and use self-leveler. Overlooking flatness leads to hollow sounds and joint stress.
- Moisture: Never skip vapor protection over concrete. If moisture tests exceed your product’s limits, use an approved moisture mitigation system or consider an alternative floor.
- Transitions between rooms: Plan threshold locations before you start. Dry-fit T-moldings and reducers to ensure both sides have proper expansion clearance.
- Doorways and tight areas: Undercut casings using a scrap of plank plus underlayment as a height guide. Pre-assemble tricky boards outside the doorway, then angle and slide into place.
- Irregular layouts: Establish control lines and work from the center or a straight hallway to avoid tapering. In a Heights renovation, we centered planks down a long corridor so rooms branching off had balanced cuts.
Wrapping Up: Ensuring a Lasting Laminate Floor
Careful planning, accurate measurements, solid moisture control, and disciplined installation habits are the difference between a laminate floor that looks great for a season and one that performs for years in Houston’s climate. Respect expansion gaps, verify slab conditions, keep the space conditioned, and don’t rush subfloor prep—those steps protect your investment.
If you’d like expert help, we offer free quotes and slab moisture testing across Greater Houston. Schedule a visit, and our team will evaluate your subfloor, confirm moisture conditions, and provide a detailed plan tailored to your home or commercial space.
