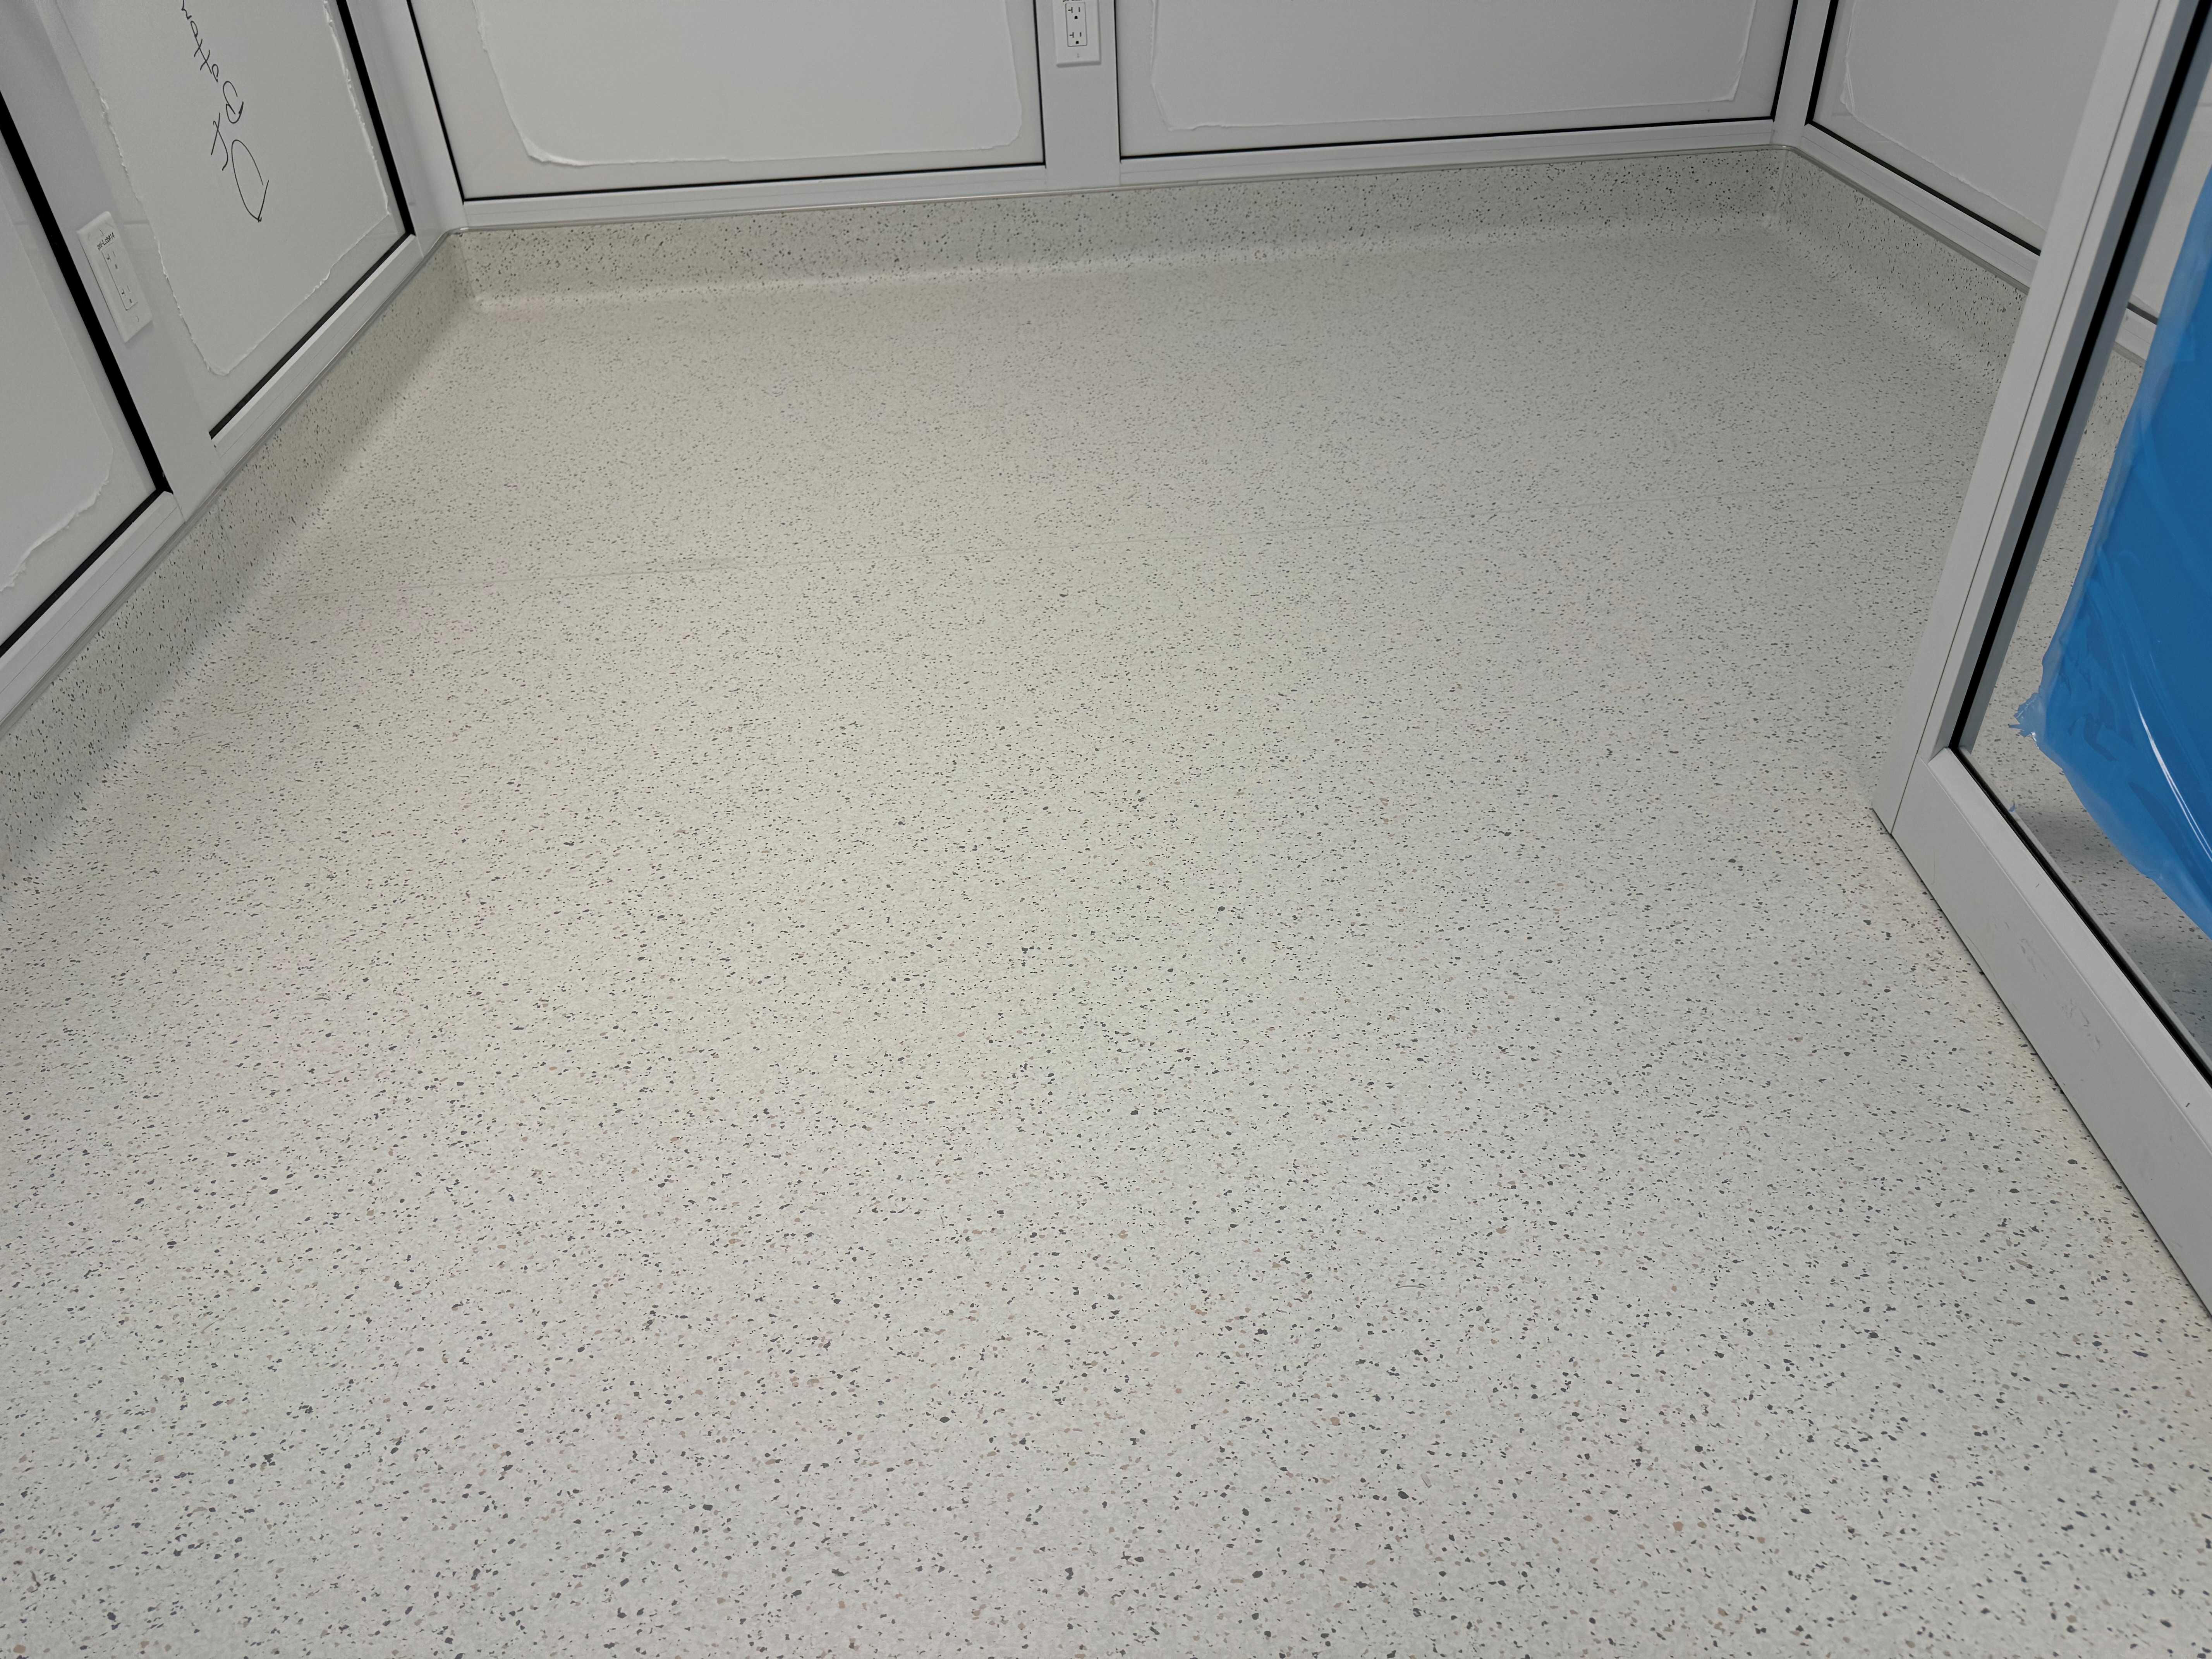
Vinyl Sheet Flooring in Houston: Install & Moisture Tips
How to Install Vinyl Sheet Flooring in Houston: Texas-Specific Tips for Humidity & Subfloor Prep
Understanding Houston’s Climate: Why Humidity Matters for Vinyl Sheet Flooring
Houston’s high humidity and temperature swings put unique stress on resilient flooring systems. While vinyl sheet itself is dimensionally stable and moisture-resistant, the subfloor and adhesive are not immune to moisture vapor, high pH, and thermal changes. Excess moisture from concrete slabs can soften adhesives, cause bubbles, or stain seams; wood subfloors can swell and telegraph irregularities.
Acclimation is essential. Keep HVAC running and acclimate the vinyl, adhesive, and space for at least 48 hours before installation at service conditions (typically 65–85°F and 35–55% RH, or per product instructions). This stabilizes the material and reduces post-install expansion, contraction, and seam stress.
Subfloor Preparation: Ensuring a Stable Foundation

Start with a clean, flat, dry, and sound subfloor. Vacuum thoroughly; remove paint, curing compounds, old cutback adhesive residues, and contaminants that can inhibit bond.
- Concrete: Check flatness and fill low spots with a cementitious underlayment; grind high spots. Many resilient manufacturers require no more than 3/16 inch variation in 10 feet (or as specified by the product). Perform moisture testing per industry standards: in-situ RH (ASTM F2170) and/or calcium chloride MVER (ASTM F1869), plus pH testing. Compare results to the adhesive and flooring manufacturer limits. If readings exceed limits, install a manufacturer-approved moisture mitigation system (e.g., epoxy-based) rather than “hoping it dries out.” Older Texas slabs may lack an under-slab vapor retarder; above-slab mitigation is often the only reliable solution.
- Wood: Ensure the subfloor is structurally sound, fastened, and dry (generally below 12% moisture content). Add a suitable underlayment-grade plywood where needed; avoid lauan. Patch seams and fastener holes; sand flush. Address sources of moisture (crawlspace ventilation, plumbing leaks) before proceeding.
Common Texas issues include on-grade slabs with high RH, reflective cracking from settled foundations, and cutback adhesive residues in remodels. Don’t entomb unknown adhesives; mechanically remove to manufacturer-acceptable levels or use an approved encapsulant when allowed.
Installation Techniques for Lasting Results
Dry-fit first. Unroll the sheet, relax it, and template or scribe for walls and doorways. Undercut casings and slide material underneath for a clean look. Where seams are necessary, use the double-cut method: overlap sheets, ensure pattern alignment, then cut both layers for a tight factory edge.
Adhesive choice matters in Houston. Use the adhesive specified by the vinyl manufacturer and matched to your slab’s moisture and pH results. Pressure-sensitive acrylics are common for standard conditions; for high moisture, select adhesives rated to the measured RH/MVER or employ an epoxy moisture mitigation system beneath the adhesive. Observe the proper open time/flash time; setting into wet adhesive too soon or too late leads to bubbles and poor bond.
After placement, roll the floor in both directions with a 75–100 lb roller to ensure full transfer and to release trapped air. At seams, follow manufacturer guidance: chemical seam sealers are typical for residential; heat-welded seams are preferred in healthcare, education, or other high-traffic/wet environments.
To minimize expansion, contraction, and bubbling:
- Maintain conditioned space before, during, and after install.
- Respect perimeter gap recommendations (often 1/8–1/4 inch, concealed by trim) where required by the product.
- Cross-roll promptly and re-roll high-risk areas like seams and entries.
- Avoid over-application of adhesive and don’t “spot-bond.”
Example: In a Pearland medical office with 95% in-situ RH, installing a two-part epoxy moisture mitigation system and heat-welding seams prevented bubble formation under heavy nightly cleaning.
Post-Installation Care in Texas Conditions
Allow adhesives to cure undisturbed. Avoid heavy rolling loads and furniture moves for 24–72 hours (check product directions). No wet mopping or finish application until the adhesive has set—typically 48–72 hours.
Use a neutral pH cleaner for routine maintenance. Place walk-off mats at entries to capture grit and moisture; ensure mats have non-staining backings. Add felt pads to furniture, use wide, non-staining casters, and employ chair mats under rolling office chairs.
Sun-fueled heat gain can stress seams; consider shades or window films on south- and west-facing glass. In humid spells, run HVAC and, if needed, a dehumidifier to keep indoor RH within the flooring’s recommended range.
Monitor for early signs of moisture issues: recurring bubbles, dark staining at seams, musty odors, or adhesive oozing. In homes with crawlspaces, check for standing water or inadequate ventilation. In commercial settings, review nightly cleaning routines—excessive water and auto-scrubbers with aggressive pads can damage seams.
Example: A Montrose bungalow over a pier-and-beam foundation benefited from adding underlayment plywood, sealing crawlspace ground with a proper vapor retarder, and using a neutral cleaner—resulting in a smooth surface with no seam lift through a humid summer.
Moving Forward: Making Informed Flooring Decisions
Successful vinyl sheet installations in Houston hinge on climate-aware planning: verify and control moisture, prepare subfloors meticulously, choose adhesives that match real slab conditions, and maintain stable indoor environments. These steps reduce callbacks, bubbles, and seam failures in both homes and businesses.
If you’re considering vinyl sheet flooring, we’re here to help. Schedule a free quote or request a slab moisture test, and we’ll provide recommendations tailored to your space and Houston’s climate.
